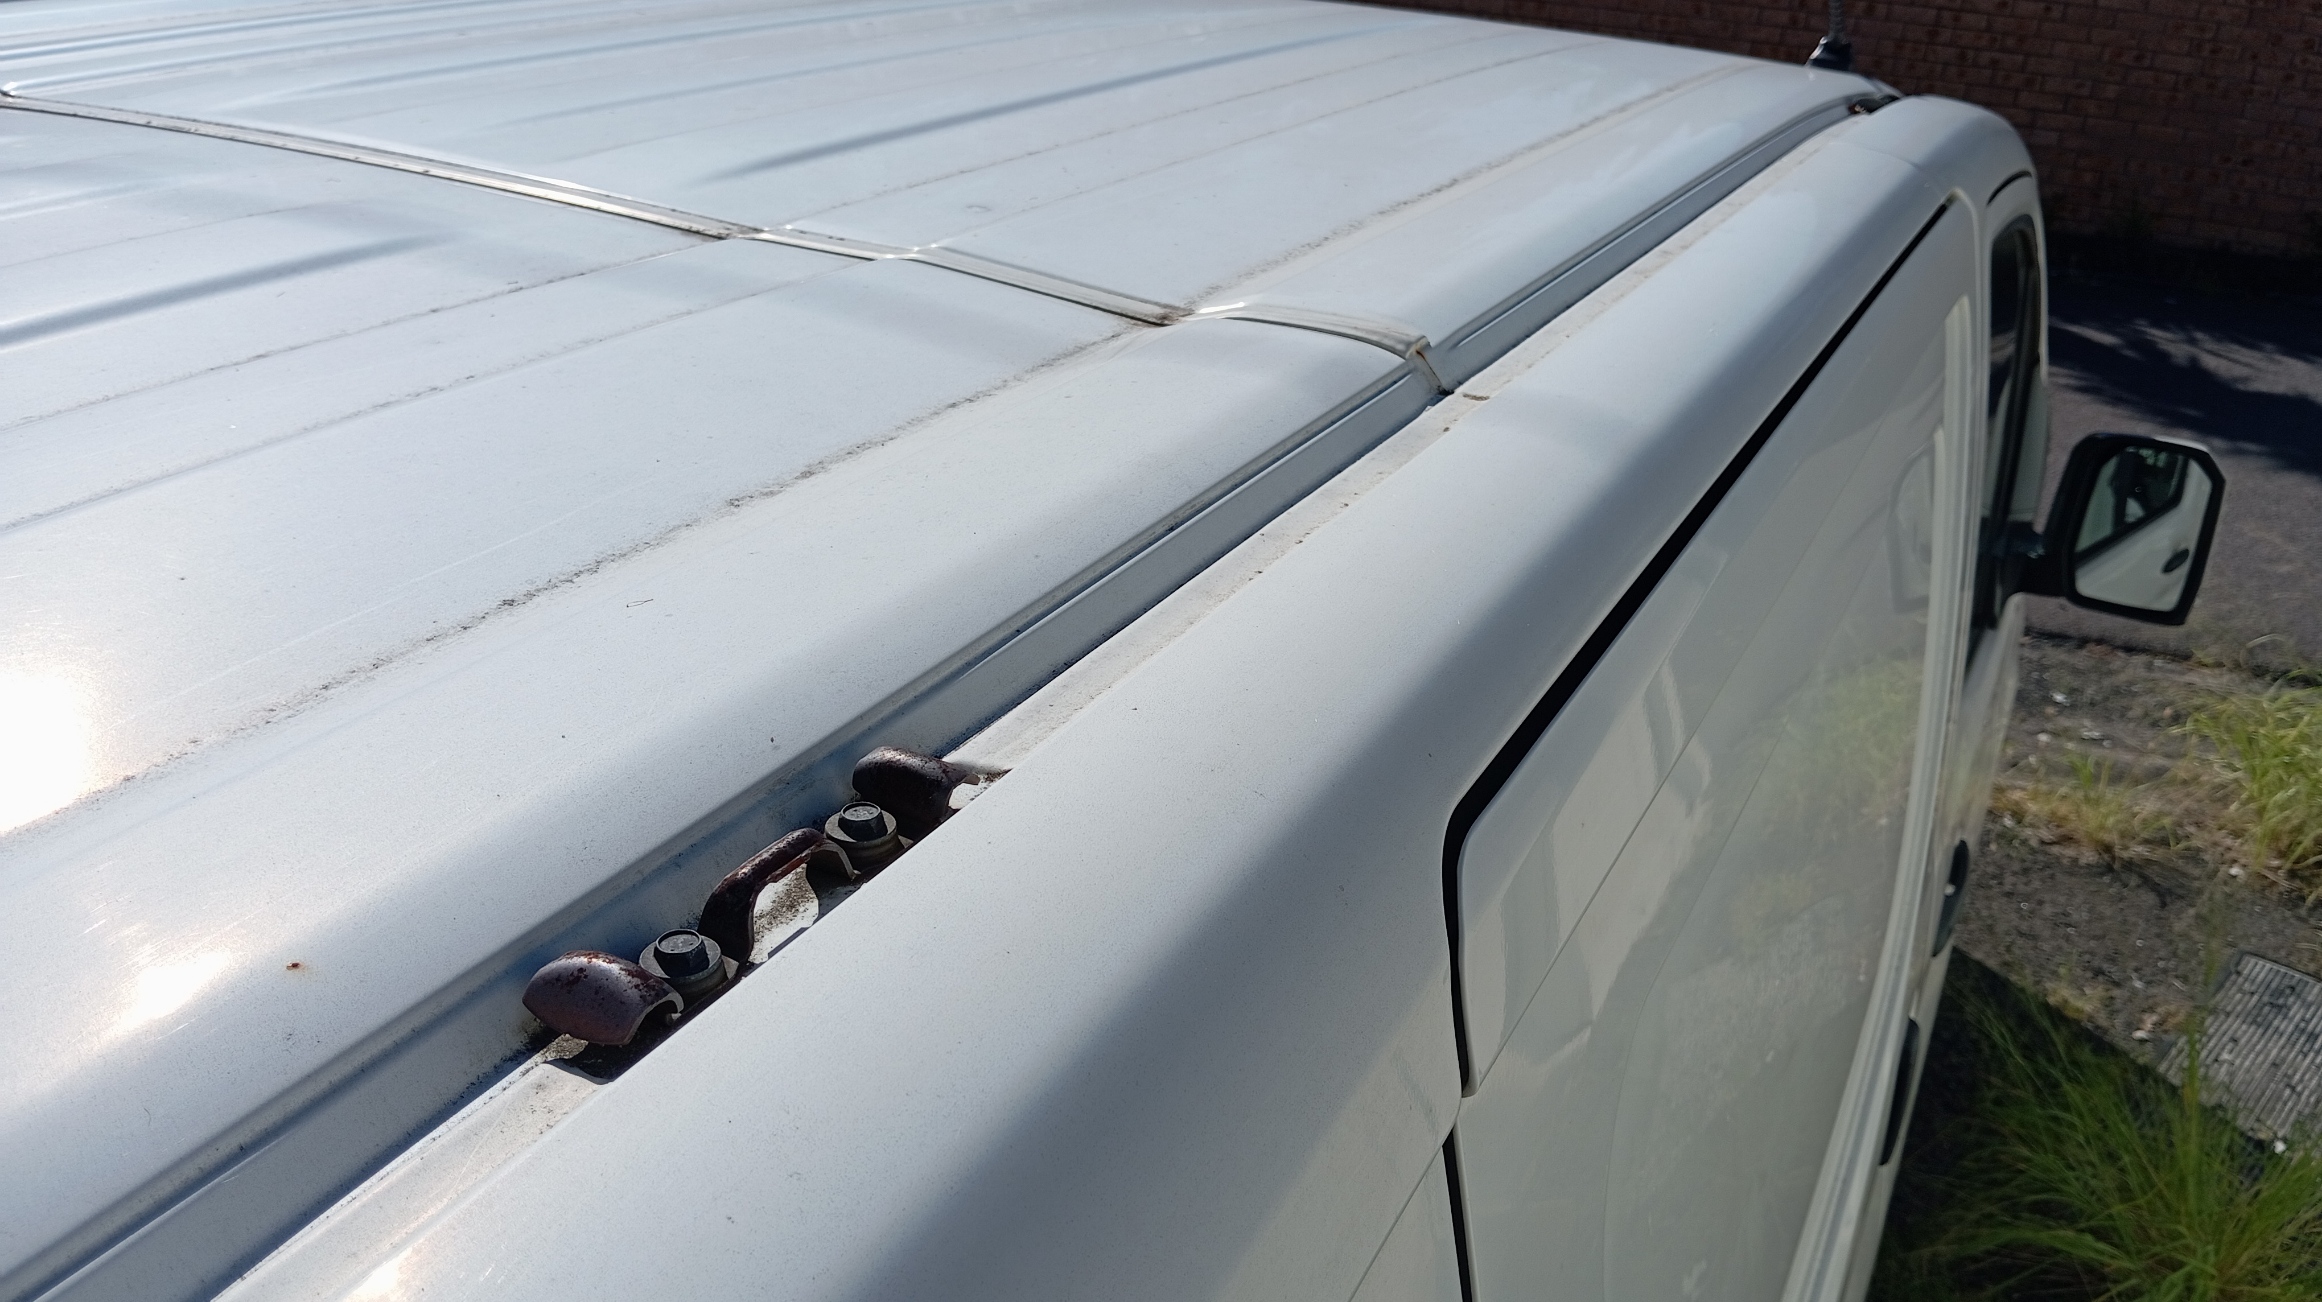
Step 1 – Prepare the vehicle
Locate the factory mounting points beneath the roof ditch moulding. Thoroughly clean and dry the roof and surrounding work area before removing any components or installing accessories..
Guías de instalación
OZ300 Installation Guide
Locate the factory mounting points beneath the roof ditch moulding. Thoroughly clean and dry the roof and surrounding work area before removing any components or installing accessories..
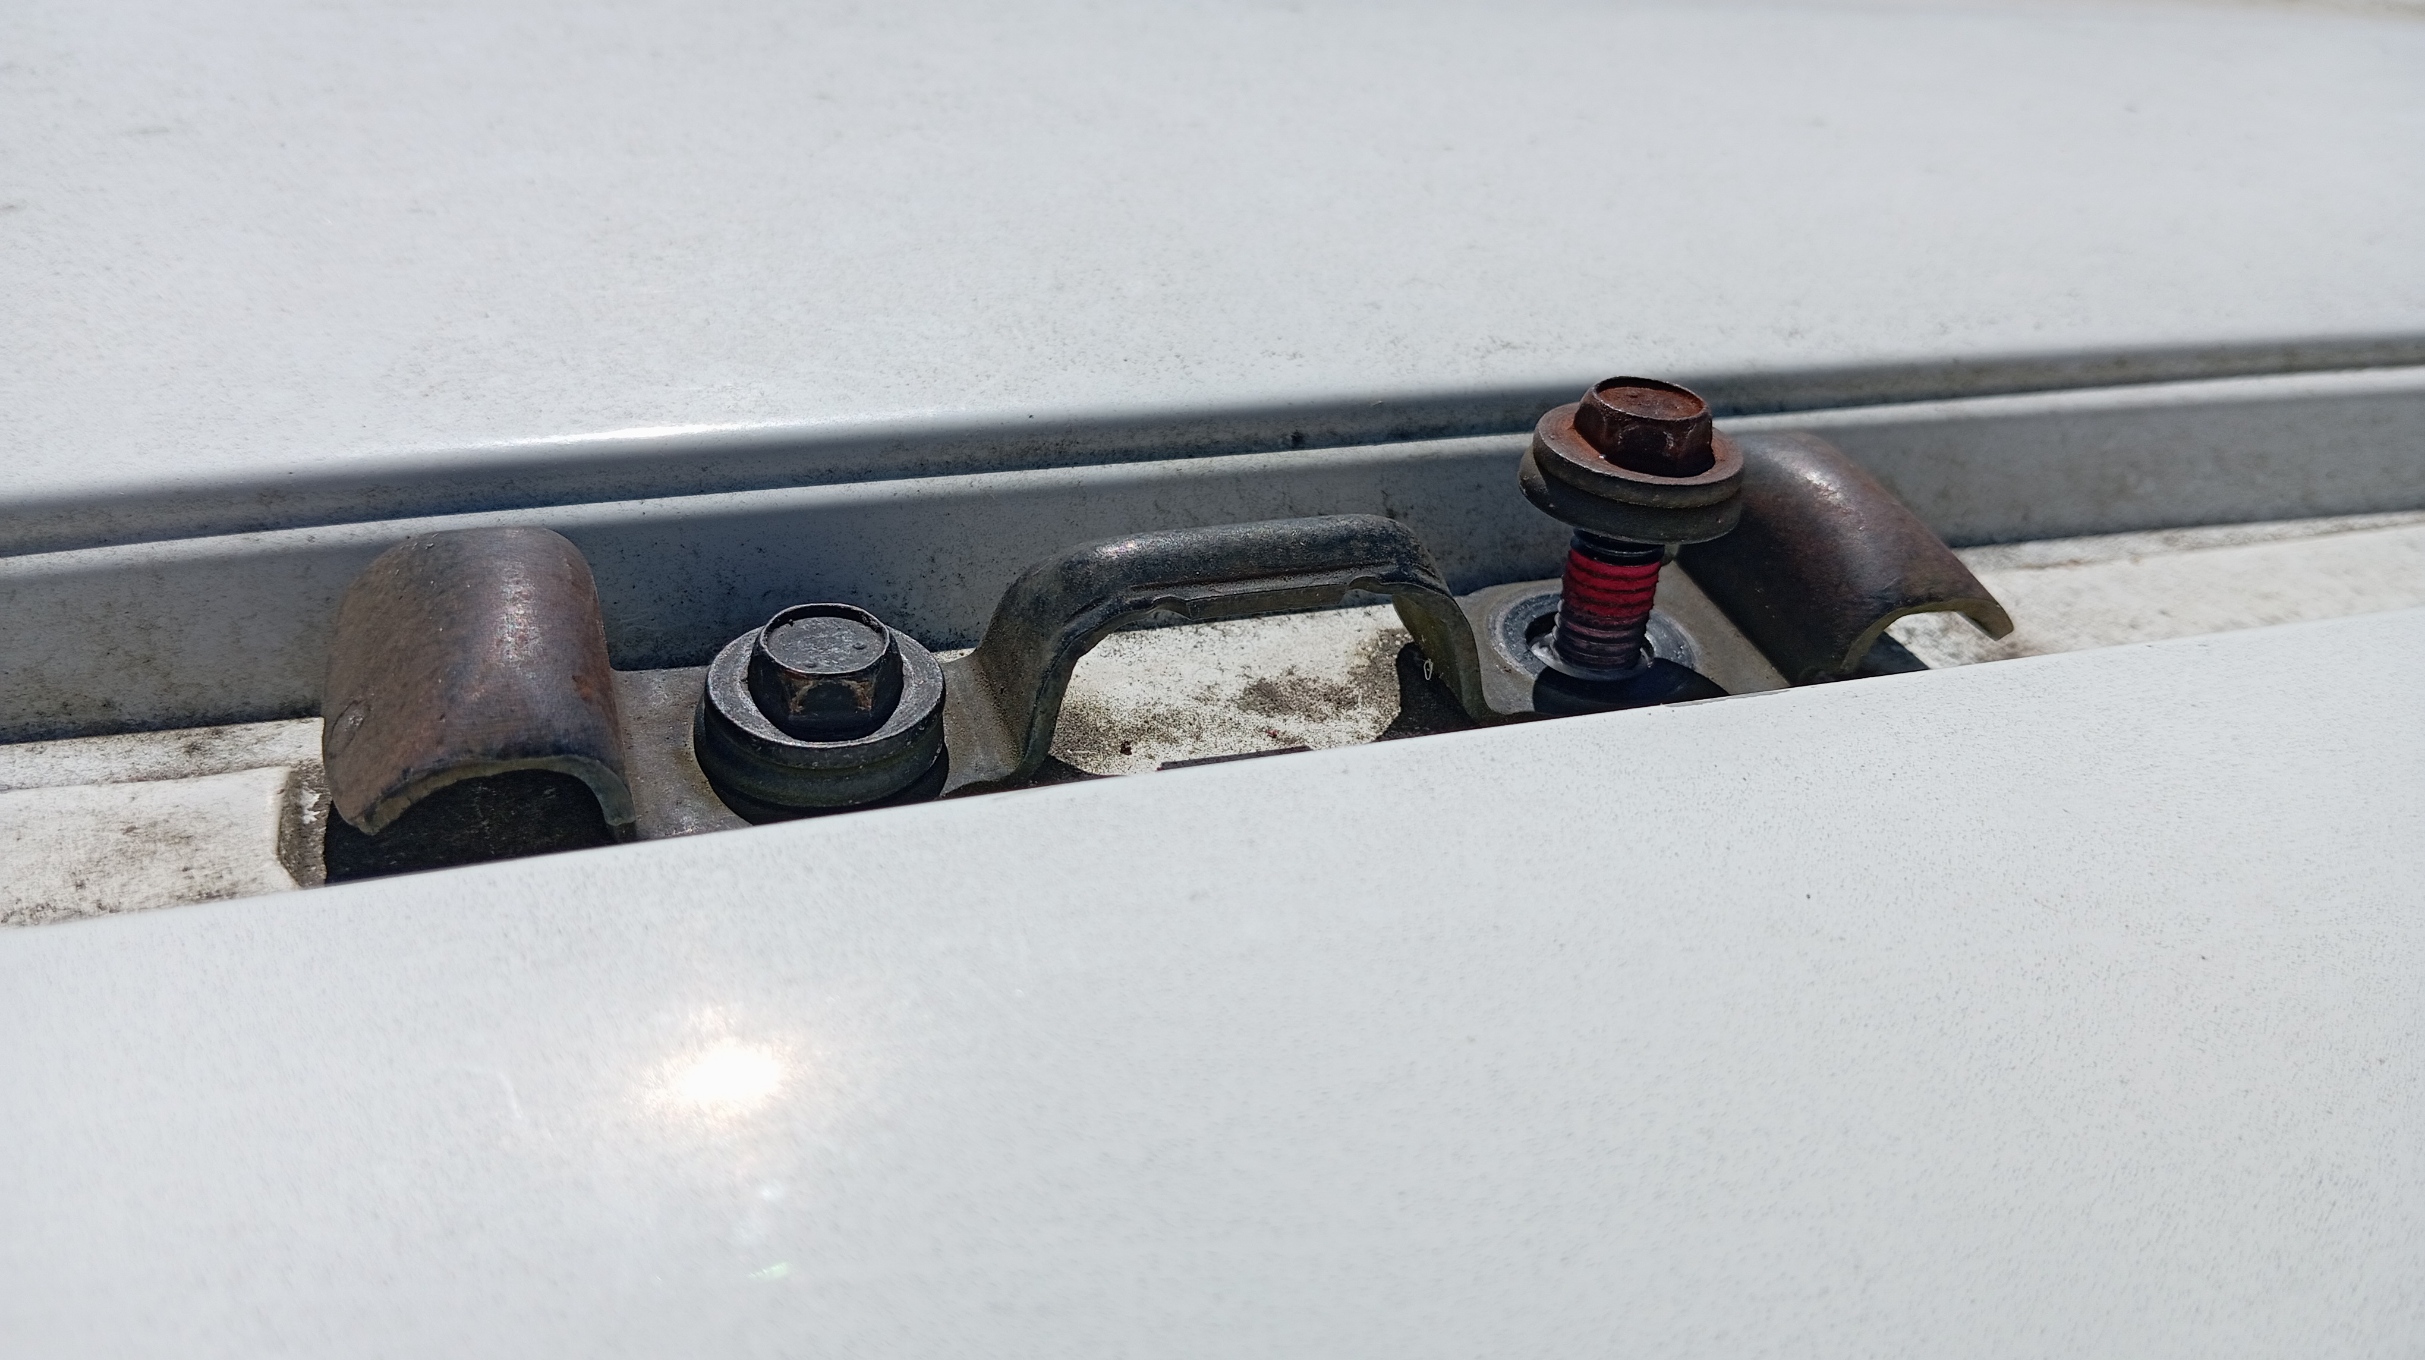
Carefully remove the factory bolts, covers or brackets. Clean beneath them thoroughly and inspect the mounting points, threads and surrounding roof area for corrosion, cracks, deformation or other damage.
Do not continue with the installation if any damage is found. Have the area assessed and repaired by a suitably qualified professional first.
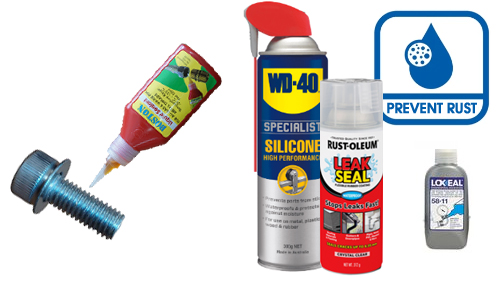
We encourage installers to use a good silicone self-fusing tape, liquid sealant, high density thread seal tape or anaerobic sealant if you're planning a low-maintenance and long-lasting installation.
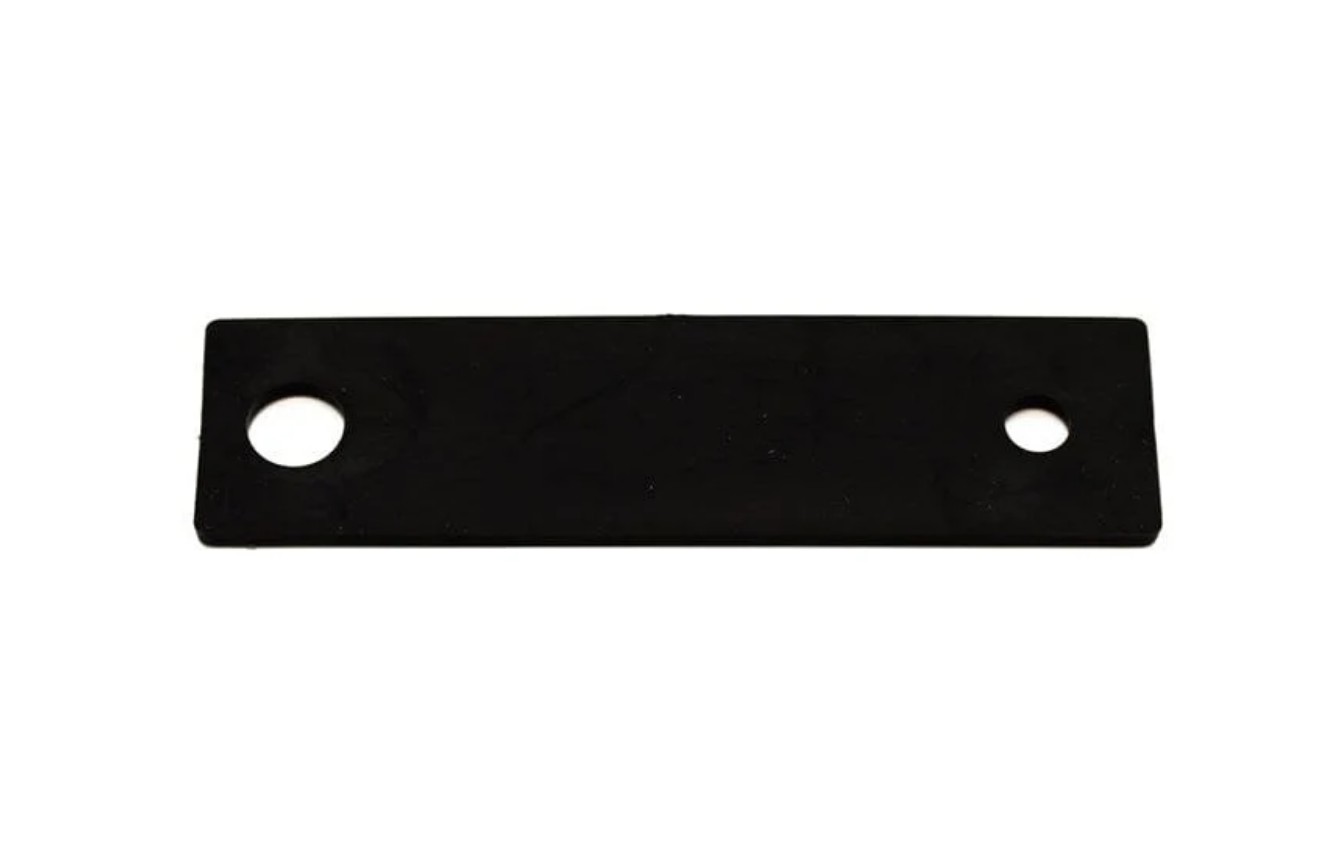
Where suitable for the vehicle and installation, place an outdoor-grade rubber liner or protective strip between the bracket and the roof. This provides an additional barrier between the surfaces and helps protect the vehicle’s finish.
Ensure the liner does not obstruct the mounting holes, prevent the bracket from sitting flat or interfere with the watertight seal.
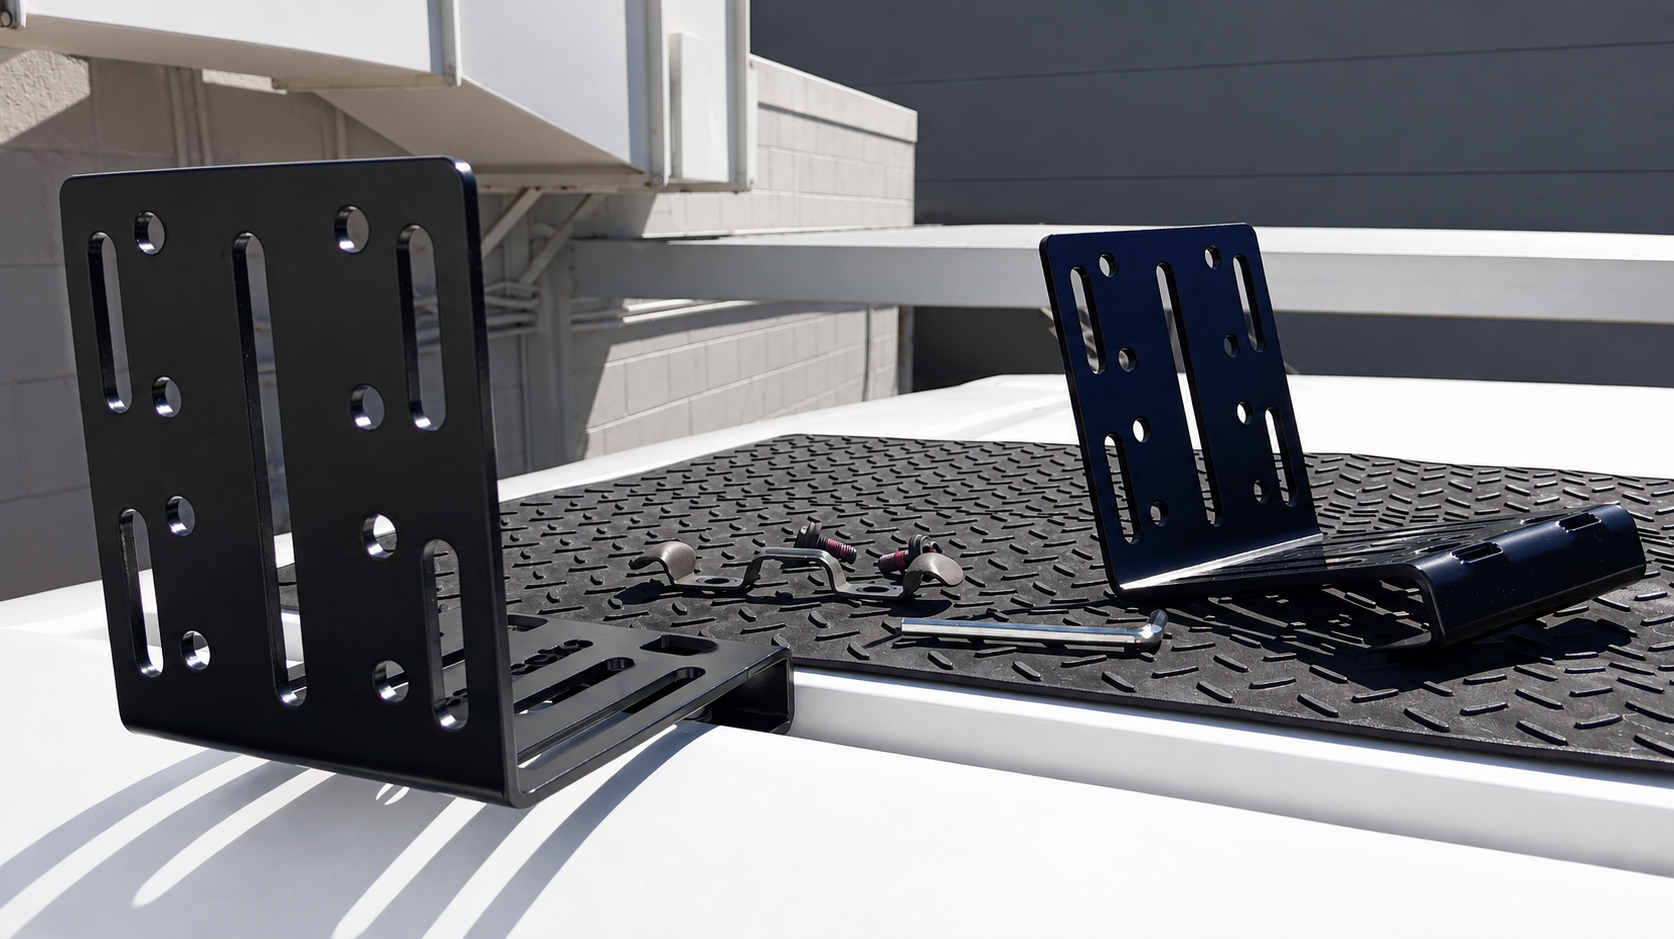
Lay out all hardware on a clean protective rubber mat to prevent damage to the vehicle’s roof.
Before adding the hardware or sealant, position the bracket over the factory mounting points to confirm that the holes align correctly and that the bracket sits flat without contacting or damaging the vehicle.
Do not modify the bracket or vehicle to force an unsuitable fit.

Position the supplied hardware as shown in the installation image. Start all bolts by hand and leave them loose enough to allow the bracket to align correctly.
Do not use power tools.
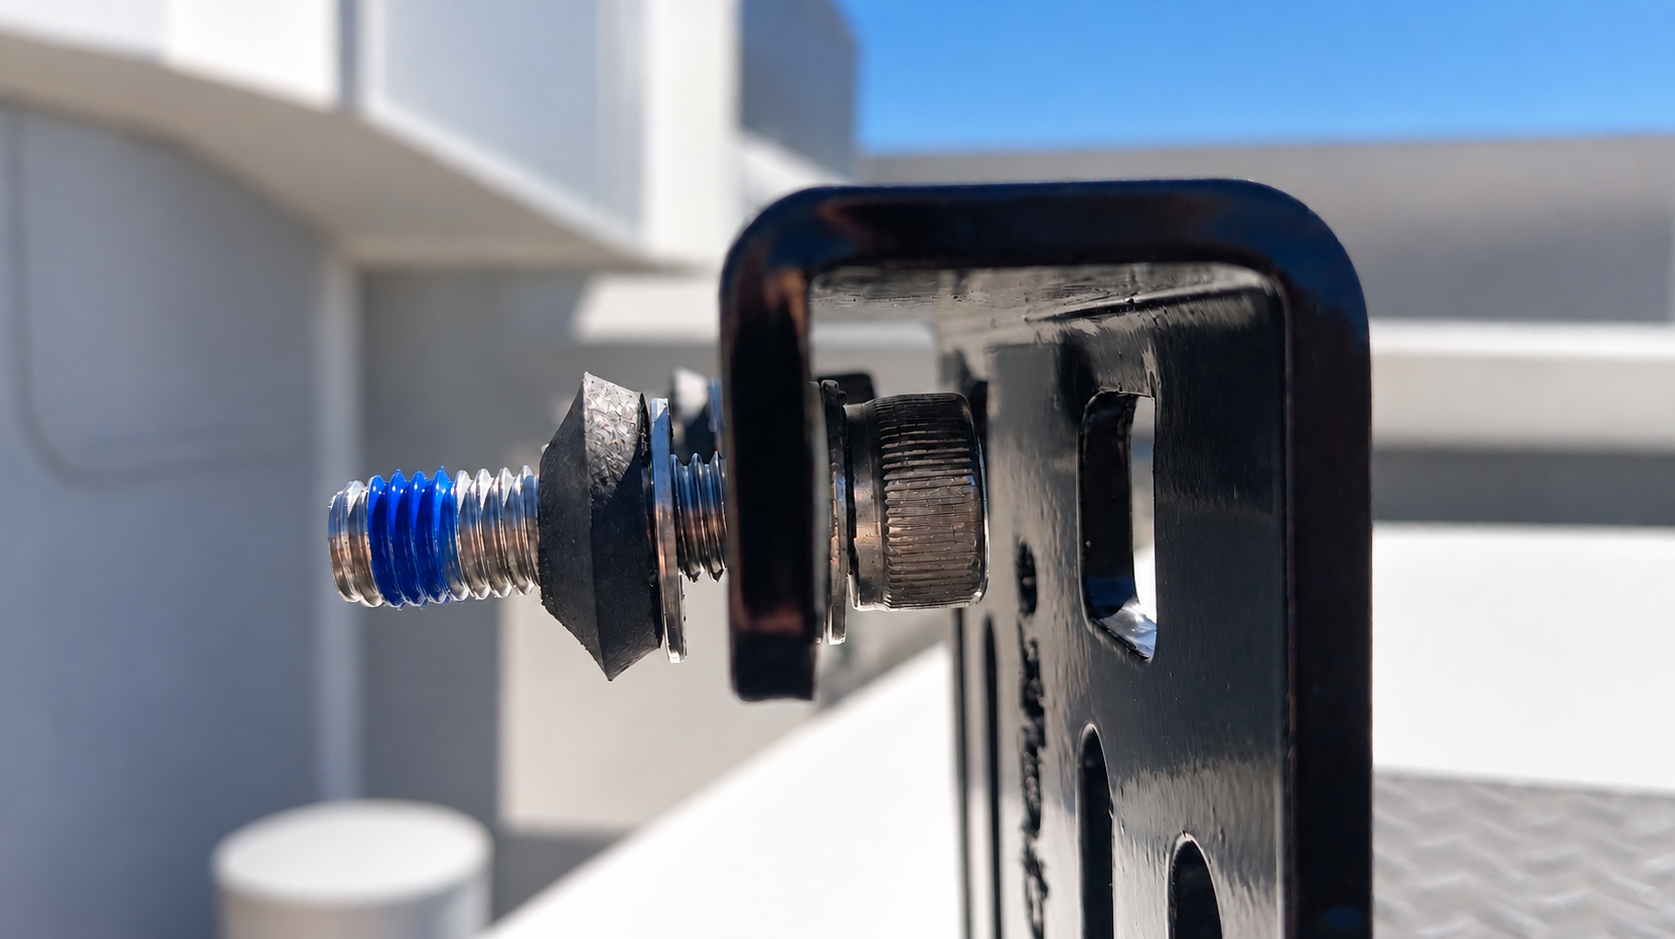
Apply the selected automotive-grade sealant around each exposed mounting hole and as required beneath the bolt heads or sealing washers. Ensure the sealant forms a continuous barrier against water ingress.
Do not rely solely on thread sealant to waterproof the roof opening.
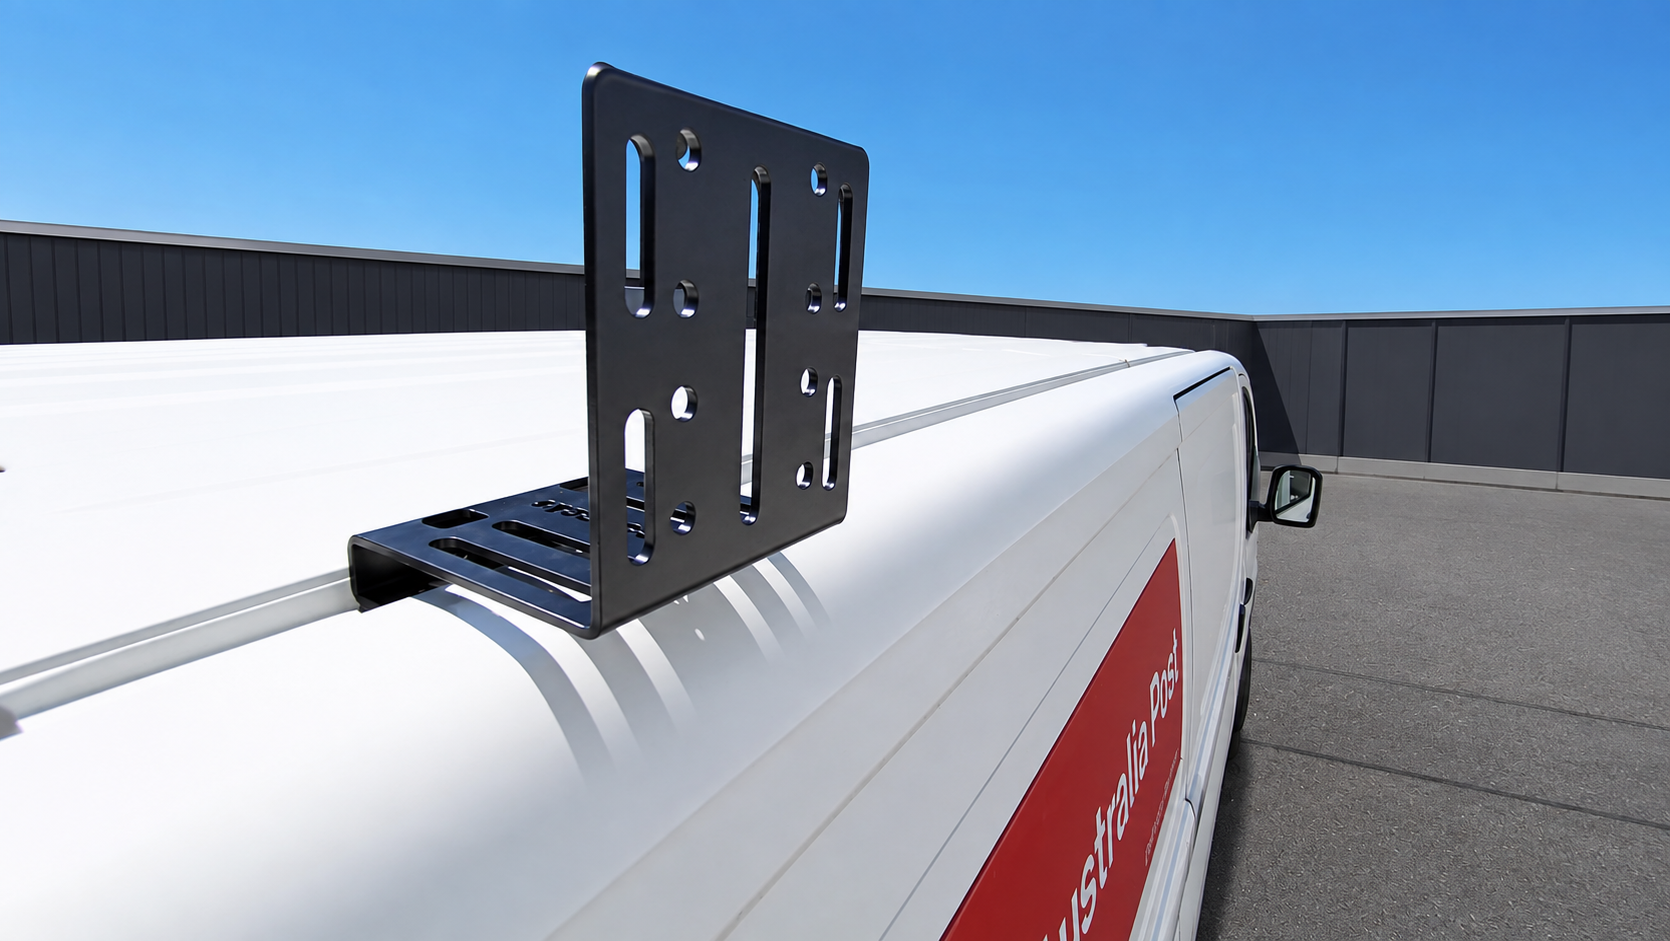
Using the Allen key provided, tighten the bolts gradually and evenly, alternating between them so the bracket remains correctly aligned.
Follow the vehicle manufacturer’s tightening specification where one is available, and do not exceed the maximum permitted torque for the supplied hardware. Do not overtighten, as this may damage the threads, bracket or vehicle roof.
Confirm that the bracket sits firmly in position without movement.
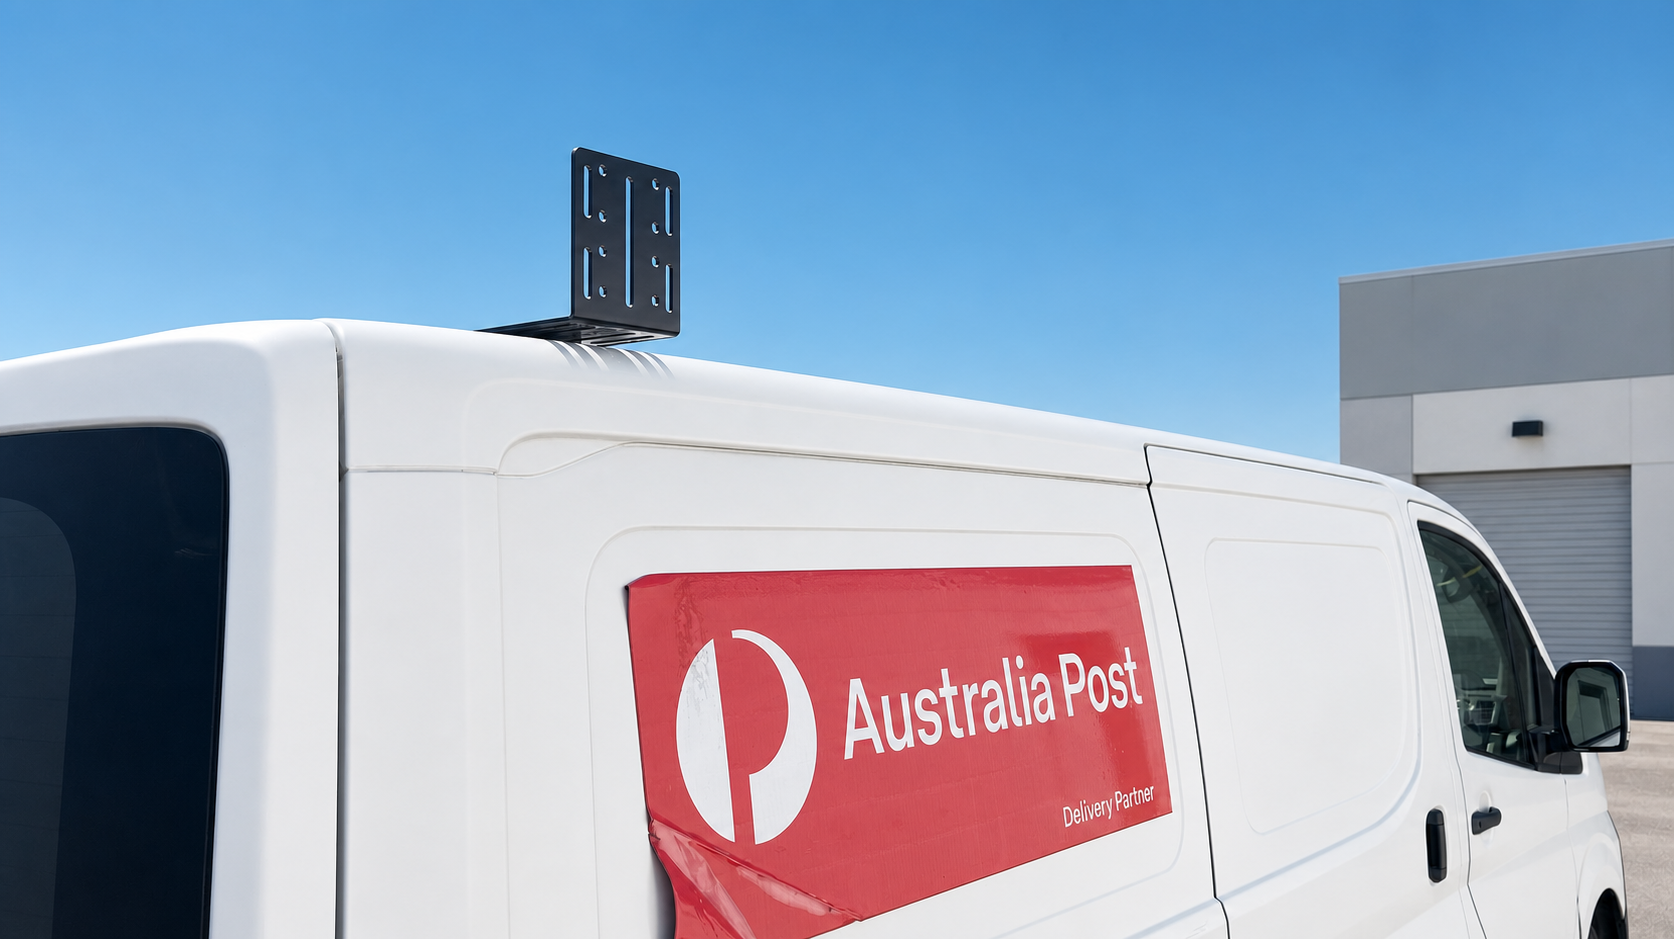
Repeat these steps for each additional bracket. The required number and spacing of brackets must be determined by the accessory manufacturer’s instructions, the vehicle’s mounting-point locations and the applicable load ratings.
Do not add brackets to unsuitable mounting locations simply to increase the system’s load capacity.
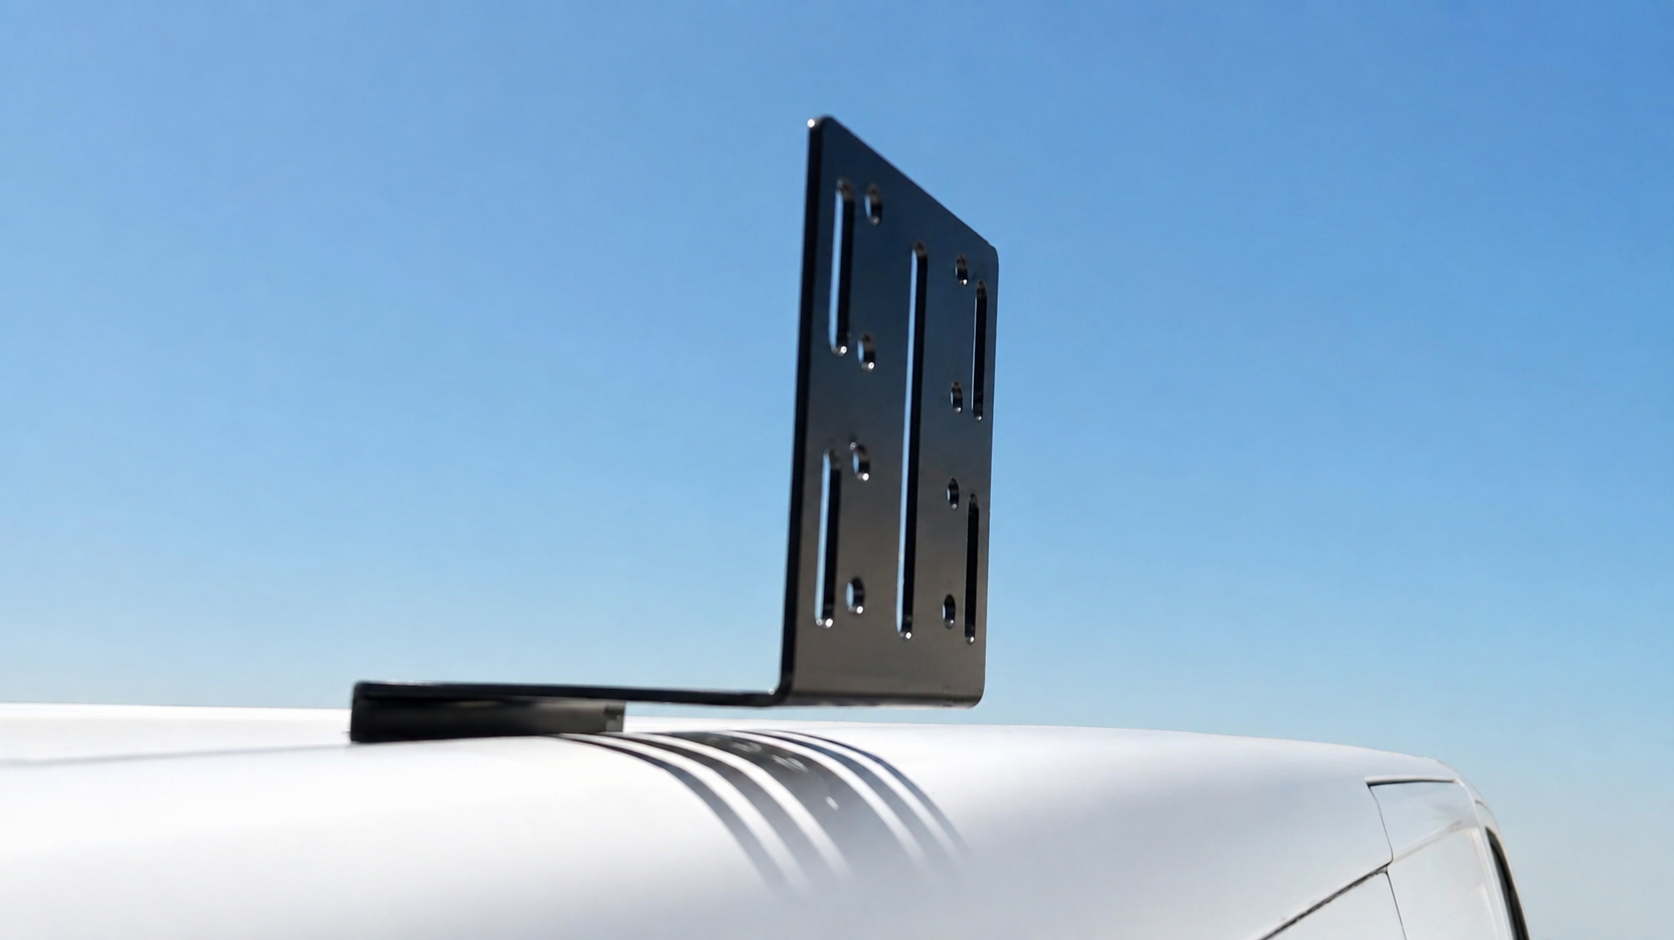
Before fitting an awning or other accessory:
Confirm that every bracket is correctly aligned and securely fastened.
Check that all mounting holes are completely sealed.
Remove excess sealant in accordance with the sealant manufacturer’s instructions.
Confirm that the brackets and hardware do not contact or damage the vehicle.
Allow the sealant to cure fully before exposing the installation to rain or loading the brackets.
Reinspect the installation after the first journey and regularly thereafter.
Ozzy es un asistente de IA diseñado para ayudarte a encontrar portaequipajes, toldos y accesorios para vehículos compatibles con tu vehículo. Utiliza la información que proporcionas, junto con la información de productos disponible públicamente y la base de datos de compatibilidad de Ozroofracks, para generar recomendaciones y orientación de ajuste.
Si bien nos esforzamos por mantener nuestra base de datos precisa y actualizada, las respuestas de Ozzy se proporcionan solo como una guía y pueden no reflejar siempre las últimas especificaciones del fabricante, revisiones de productos o modificaciones del vehículo. La compatibilidad puede variar dependiendo del modelo exacto de su vehículo, año, configuración del techo, accesorios existentes y método de instalación.
Usted es responsable de revisar y confirmar todas las medidas, especificaciones y compatibilidad antes de comprar o instalar cualquier producto. Si no está seguro, por favor contacte a Ozroofracks para obtener asistencia antes de realizar su pedido.
Ozroofracks, sus propietarios y afiliados no aceptan responsabilidad alguna por cualquier pérdida, daño, lesión, errores de instalación o costos que surjan de la confianza en la información proporcionada por el asistente de IA. Cuando haya algún conflicto entre las recomendaciones de Ozzy y las especificaciones oficiales del fabricante o las instrucciones de instalación, la documentación del fabricante siempre tendrá prioridad.